


Image

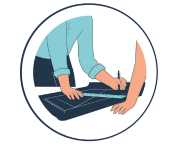
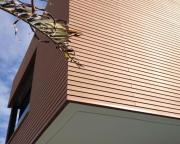
Installing rhombus cladding boards using nails or screws
Are you opting to use nails for your open rhombus cladding boards?

Installing horizontal rhombus cladding boards
Have you opted to install your open rhombus cladding horizontally, using clips?
Image
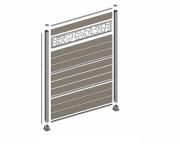
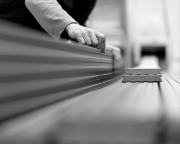
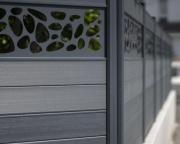
Fitting an outward facing corner for open rhombus cladding
The outward facing corner accessory allows you to create an inward OR outward facing corner. Its main function is to cover the longitudinal expansion gaps of the profiles.
Before any installation of a corner, it is important to double the cleats on each of the two side walls.
Image
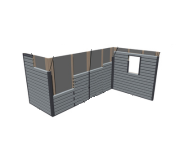
Fitting a butting profile for open rhombus cladding boards
The butting profile is installed vertically and conceals the expansion gap between the boards, which are installed horizontally. To install this accessory,
you need to triple the number of cleats.
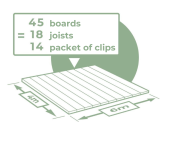
Starting and finishing installation of open rhombus cladding boards
The start and end profile accessory can only be fitted horizontally. It starts and ends the installation of vertical or horizontal boards. Its main function is to ensure that cladding boards are supported properly.
Image
Covering a join in open rhombus cladding
You can select the joint cover accessory as an alternative to the butting profile. The joint cover can be used to conceal the expansion gap between two butted boards. It is simply clipped to the boards. To install this accessory, you must double the number of cleats.
Fitting a corner profile for open rhombus cladding
The corner profile accessory is used to cover the expansion gap at the end of open rhombus cladding boards. It is screwed to the cleat.
Image

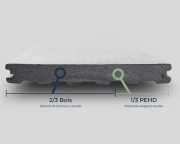
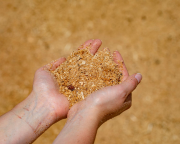
Atmosphere 175 cladding board
The + points of Atmosphere 175 cladding boards
A new board suitable for many tasks