


How to install composite fencing boards
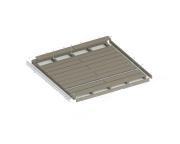
You simply insert and stack the composite boards between the posts, regularly slotting in halfway support profiles. Do not glue, weld or screw boards and halfway support profiles to each other or onto the posts.
Regardless of the height and configuration of your installed fencing, it is essential that no more than 3 boards are stacked without including a halfway support profile.
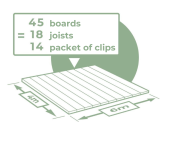
You should also observe an expansion gap of around 7 mm (+/- 4 mm) in the boards’ length. The boards measure 1783 mm (+/- 3 mm), and the centre-to-centre distance between posts must be 1800 mm. Expansion gaps must be retained at each end. If necessary, cut and recentre the boards to maintain this gap.
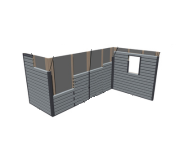
If you have opted to embed your posts in concrete, it is critical that you do not bury the first board in the ground. This board must never be stressed. You can use either a base rail under the first board, resting on the ground, or a partially buried base plate instead of the first board.
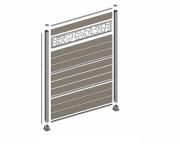
It is essential to finish the top of the fence by installing a top rail. A connector sold separately connects the rail to the post. Insert the connectors on each side of the rail, in the runner provided. Each connector is fixed to the rail with the pressure screw provided (M6x12mm). Next, SLIDE the connector (connected to the rail) onto the post until the rail rests on the top board.
N.B. The post is always higher than the stacked boards. It is essential to leave an expansion gap of at least 15 mm between the post cover and top rail.
Consult the chapter on “Technical features / Combination calculations” to calculate post heights (Refer to PU11).