


Image

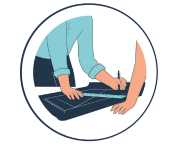
Exposed screws
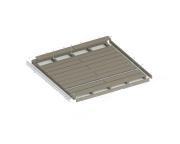
Fixing your boards in place
You can use stainless steel clips, removable clips, or choose to secure the boards with exposed screws.
Image
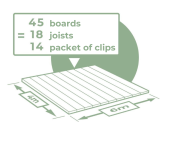
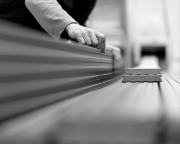
Storing and handling boards
How to store and handle our products
Our boards and accessories must be stacked on a flat, dry surface, in a well-ventilated area, so as to prevent any deformation.
We recommend breaking open the pallet to help with airflow.
Image

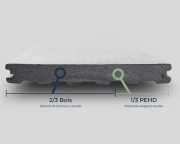
Cutting an Atmosphere board
Tips? Cutting suggestions for the Atmosphere co-extruded range for decking
Image
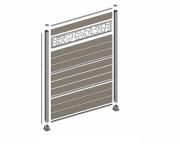
Fascia board
Looking for the right final touches for your decking creation? Allow us to suggest the fascia board accessory.
Before fitting fascia boards, the fixed deck boards must be trimmed to an even finish using a straight-edge and a circular saw.
Image
Space between boards
How much space should be left between your deck boards?
It is essential to leave a gap of at least 5 mm in width.
This allows boards to expand with changes in temperature, and also enables water and melting snow/ice to drain away.
This gap between boards must not be obstructed.
Image
Butting the boards
Is your decking wider than your boards? You’re going to need to "butt" your boards
Where boards are butted, make sure the ends are resting properly and stably on the joists, and cut the boards to length if necessary.
We recommend staggering butted joints, for aesthetic reasons.
Image

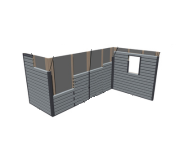
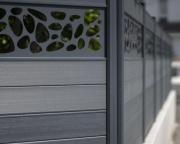
Cladding accessories
We offer a full range of finishing and installation accessories , available in the same 3 colours as the boards for either uniform or contrasted cladding: Light Brown, Dark Brown and Dark Grey.
Image
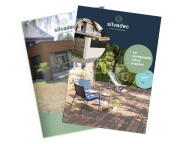
Installation instructions for cladding board Atmosphere 175 (ref. PU40)
Before beginning to install Cladding board Atmosphere 175, please refer to the installation instructions, document ref. PU40
View the pdf