


Image

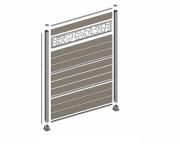
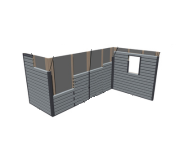
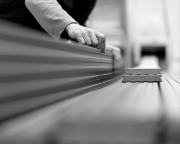
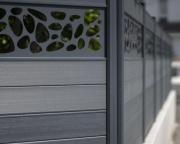
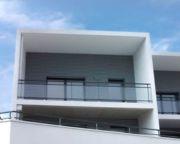
Atmosphere 175 cladding board
The + points of Atmosphere 175 cladding boards
A new board suitable for many tasks
Image
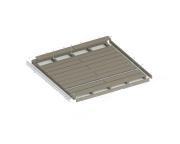
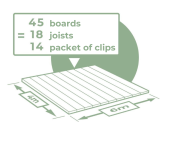
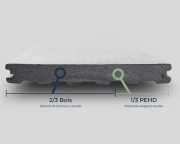
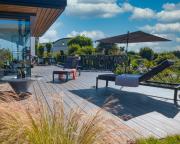
Decking installation instructions (ref. PU7 & PUS7)
Recommended tools, preparing the ground and the accessories, laying joists, spacing between boards, installing boards and fixing them in place, technical details and presentation examples: follow the step-by-step installation instructions below (PU7) for easy, flawless assembly of
Image

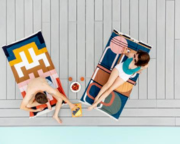
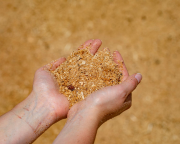
Maintenance of wood composite decking
Some top tips for keeping your decking in good shape
Maintenance of your Elegance and Emotion boards
It is essential to wash your Elegance and Emotion decking once a year, ideally in spring, using a long-handled broom and soapy water, which should be warm, for optimum action.
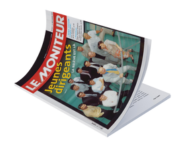
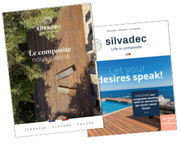
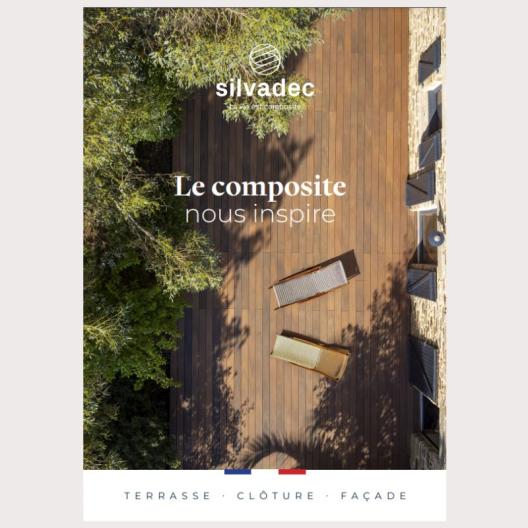
Decking & Cladding | Environmental Product Declaration
Passionate and transparent!
In a voluntary step directly aligned with our commitment to the environment, we were the first manufacturer to draw up, in 2019, an Environmental Product Declaration* (EPD) for our composite deck boards and cladding.
Image
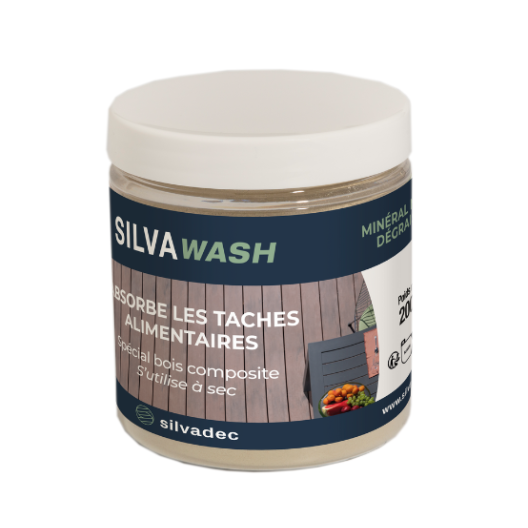
Silvawash
Natural range: Action of UV rays and rain on the Elegance and Emotion wood composite boards over time