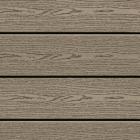


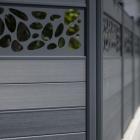


Brushed Atmosphere deck board Rio brown, 138mm SILAM1812
Many composite decking problems stem from avoidable installation mistakes. Poor installation can lead to costly repairs. This guide reveals the 10 most common pitfalls and their practical solutions to get your project right the first time.
A successful installation ensures you can enjoy your investment worry-free for 25 years. Conversely, certain errors can permanently damage your deck within just a few years.
Preparation errors: when everything goes wrong from the start
Mistake #1: Neglecting the drainage slope
❌ The trap: "A deck should be flat!" This common misconception causes water infiltration and pooling. Standing water weakens the structure and can lead to mold (especially with pine joists treated to class 4).
✅ Preventive solution:
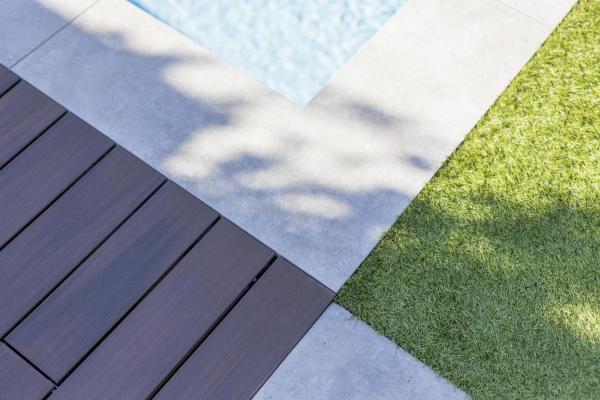
- Minimum required slope: 1% (1 cm per meter) away from the house
- Check technique: Use a garden hose filled with water to observe flow
- Key point: The slope must be created during ground preparation, not corrected afterward
- Pro tip: Water must drain around the entire perimeter, not just at one point
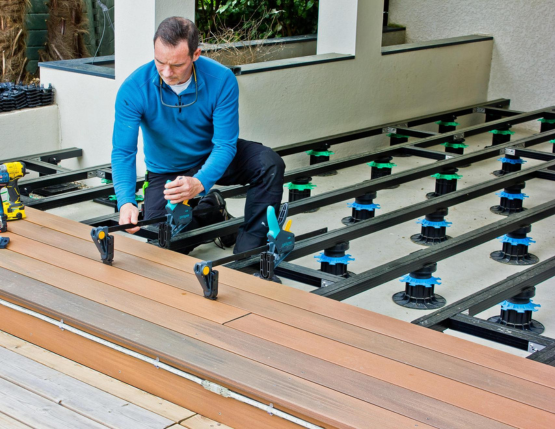
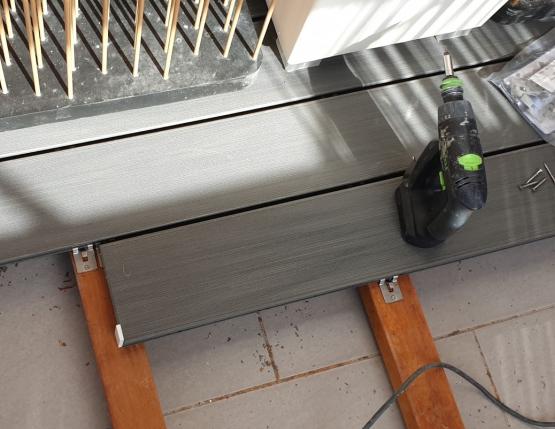
Mistake #2: Unstable or insufficient support
❌ The trap: Installing directly on compacted soil or poorly positioned pedestals. Result: sagging, squeaking, and warping within the first few years.
✅ Foolproof method:
- On soil: Excavate 20 cm + geotextile fabric + compacted gravel + concrete pedestals
- Pallet spacing: Follow DTU standards and manufacturer’s instructions
- Crucial check: Each pedestal must be perfectly stable (no rocking)
- Simple test: Jump on each pedestal — if it moves, redo it
Mistake #3: Insufficient ventilation height
❌ The trap: Leaving less than 5 cm under the boards to "gain height." Result: trapped humidity, mold, premature warping.
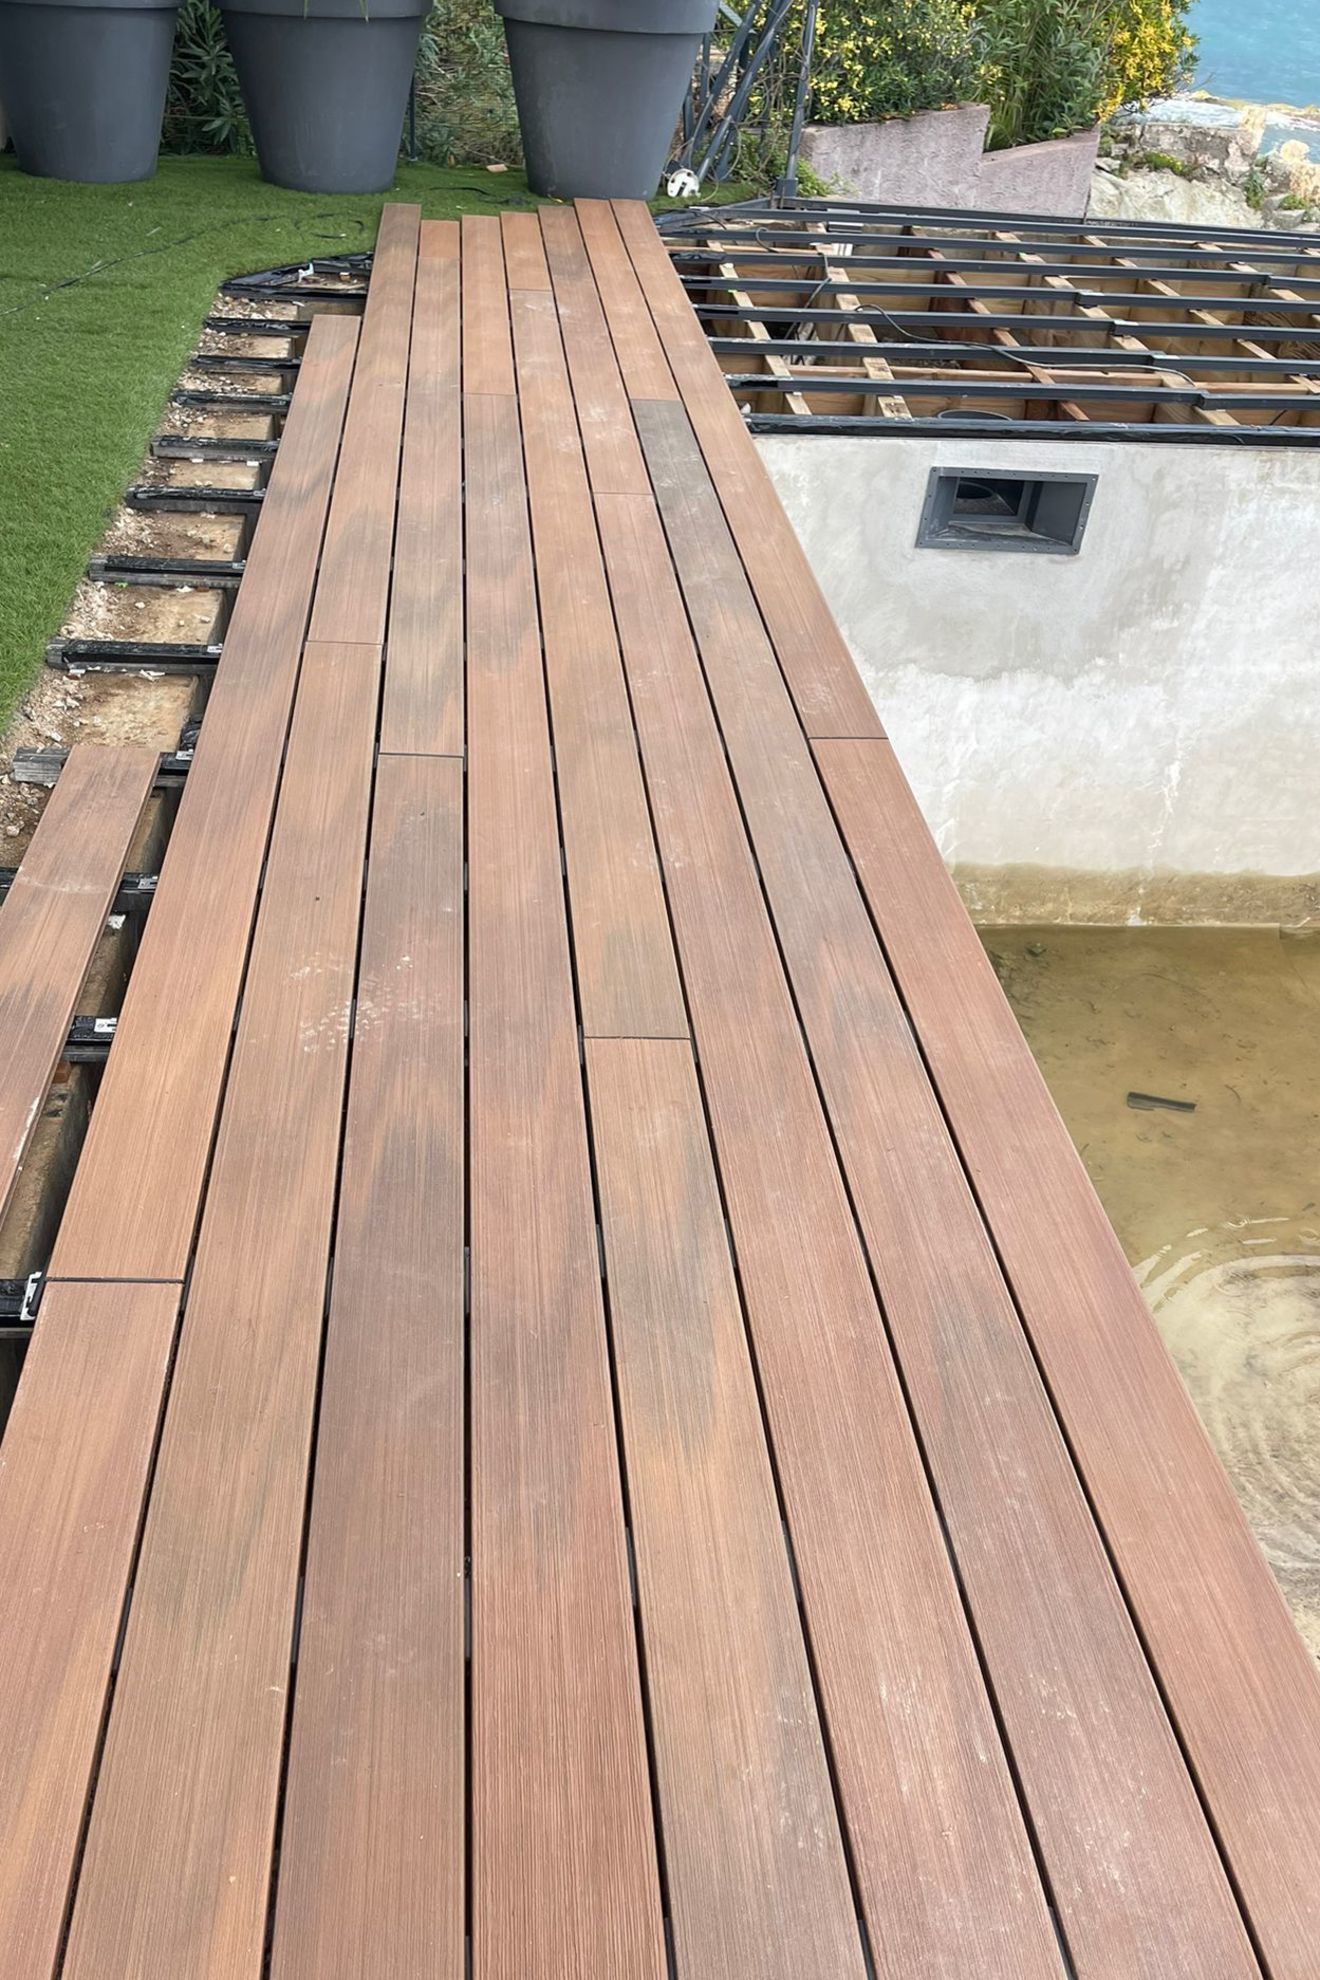
✅ Optimal ventilation:
- Absolute minimum: 5 cm of air beneath the boards
- Recommended: 8–10 cm for ideal airflow
- Mandatory check: Free air circulation around the entire perimeter
- Tip: Install ventilation grilles
Structural mistakes: when the framework weakens
Mistake #4: Incorrect joist spacing
❌ The trap: "The wider the spacing, the cheaper!" Exceeding recommended spacing leads to excessive board flexing and guaranteed cracks within a few years.
✅ Spacing based on installation angle:
- Perpendicular installation (90°): Max 40 cm between centers
- Diagonal installation (45°): Max 20 cm
- At 30°: Max 10 cm
- Measurement method: Always measure between joist centers
- Golden rule: When in doubt, space closer rather than further apart
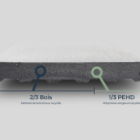
Mistake #5: Poor choice of joists
❌ The trap: Using composite joists on pedestals (they require continuous support) or untreated class 4 wood outdoors.
✅ Correct choice depending on situation:
- On continuous concrete slab: Composite or aluminum joists (or class 4 wood)
- On isolated pedestals: Aluminum or class 4 wood joists only
- Very humid environment: Prefer aluminum
- Minimum dimensions: 50x50 mm for composite joists, 45x70 mm for wood
Installation mistakes: details that compromise everything
Mistake #6: Neglecting gaps
❌ The trap: "5 mm gap? No big deal..." Composite expands with temperature! Without proper gaps = bulging and destructive internal stresses.
✅ Mandatory gaps:
- Between boards (width): 5 mm minimum – never less!
- End to end (length): 5 mm minimum
- Against walls/obstacles: 15 mm minimum
- Essential tool: 5 mm spacers for consistent gaps
- Check: Always verify with a tape measure
Mistake #7: Inappropriate or poorly done fastenings
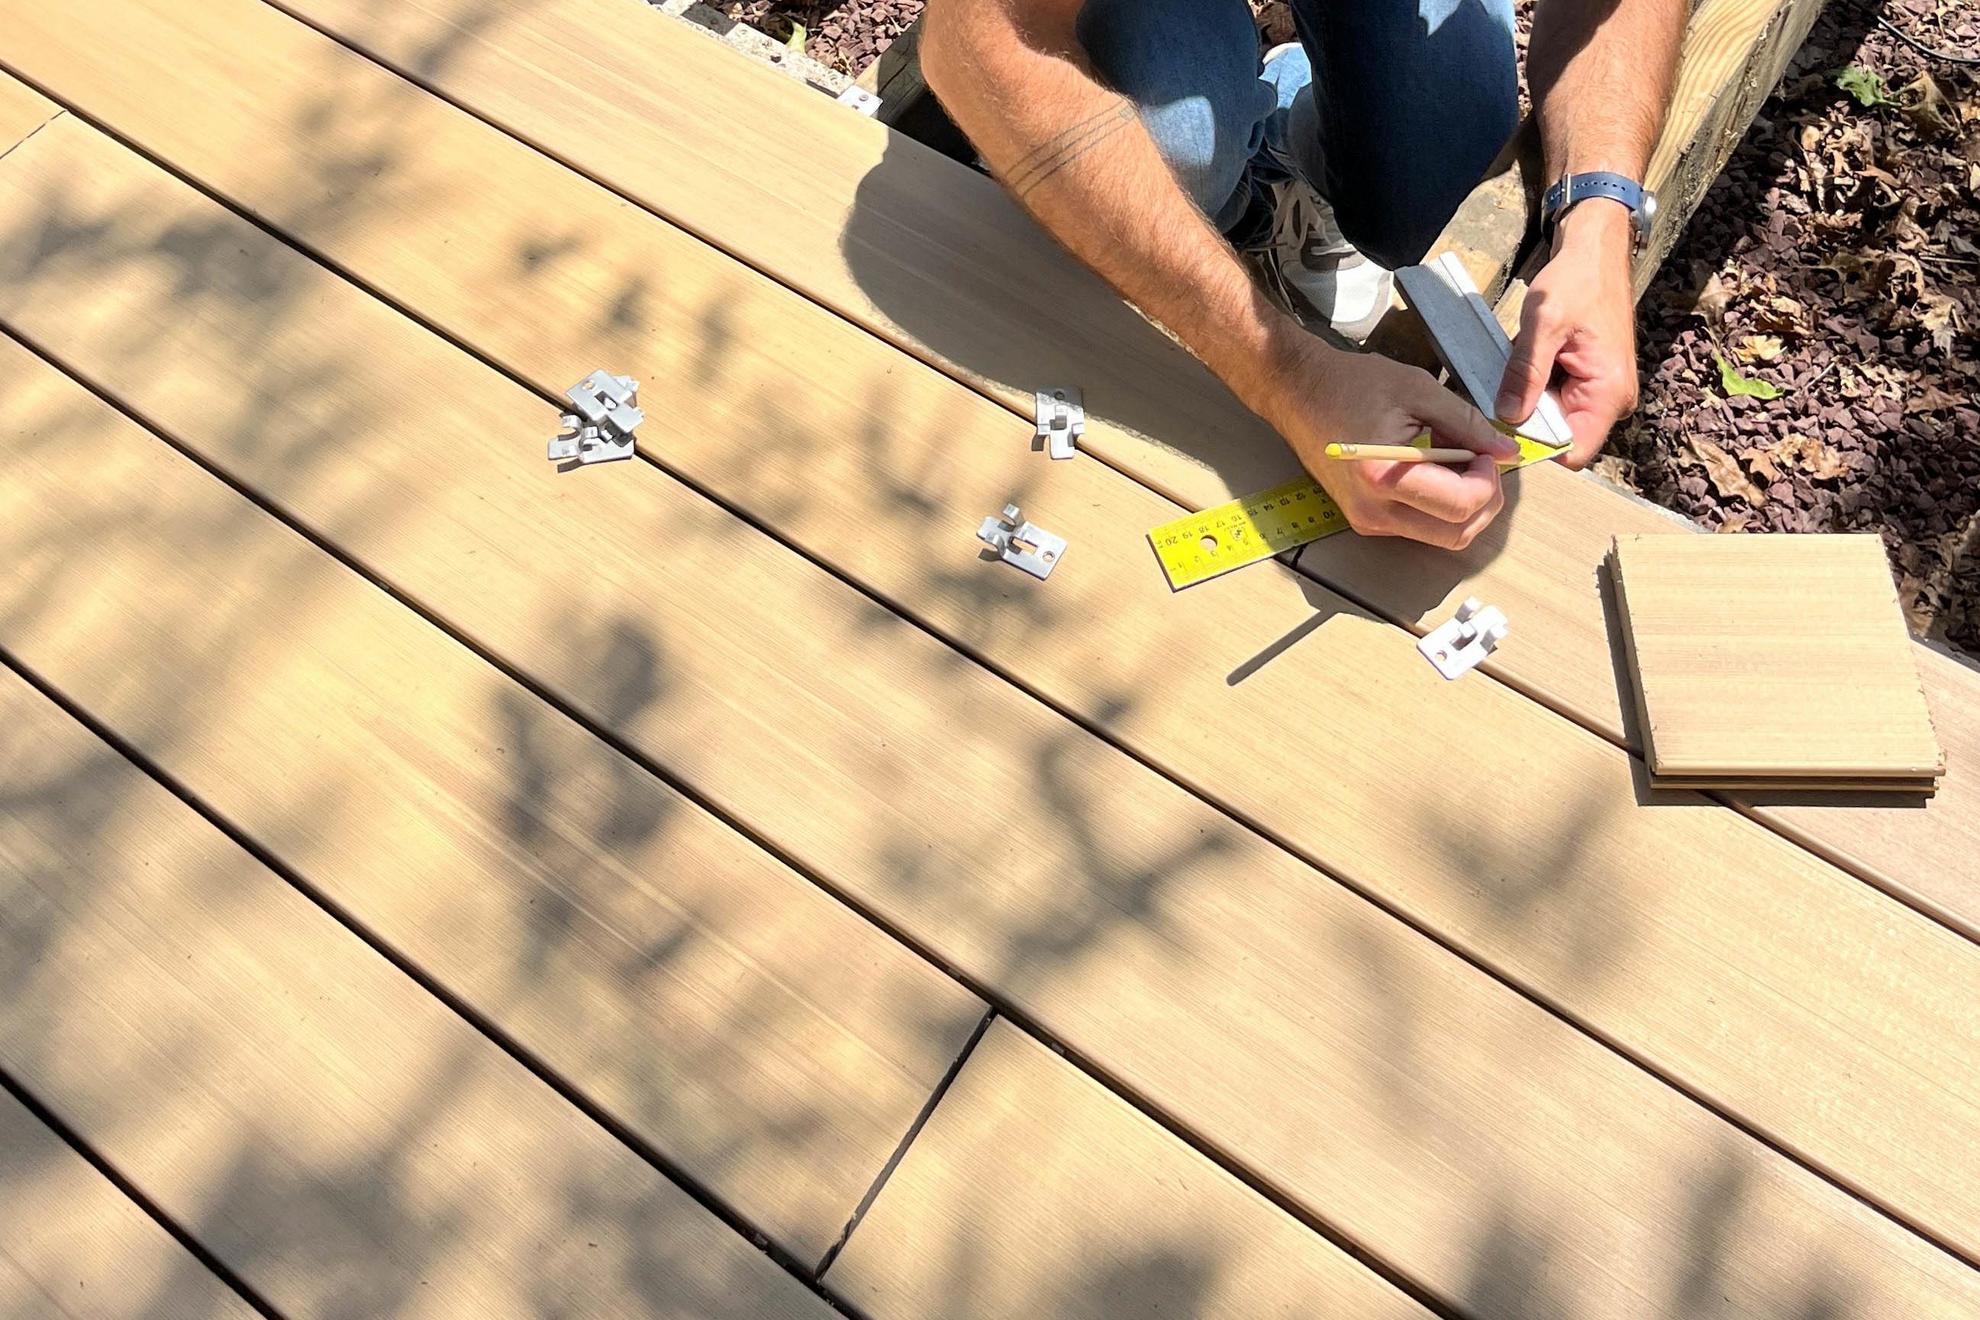
✅ Perfect fastening:
- Recommended solution: Stainless steel clips – invisible, self-spacing fastening
- If visible screws are necessary: Always pre-drill
- Critical distance: Minimum 25 mm from board edges
- Tightening: Moderate torque – composite should never be forced
- Material: Stainless steel mandatory in humid environments
Mistake #8: Rough cuts
❌ The trap: Cutting "by guesswork" without a rigid guide. Result: sloppy finishes, material waste, and amateurish appearance.
✅ Professional cutting:
- Essential tool: Circular saw with rigid guide
- Specialized blade: Fine tooth (at least 60 teeth) for composite
- Failproof method: Measure three times, mark once, cut once
- Safety: Protective glasses + dust extraction
- Finish: Light sanding of cut edges
Timing and conditions mistakes: when the timing matters
Mistake #9: Installing in poor weather conditions
❌ The trap: Installing in extreme heat (+30°C) or cold (-5°C). Materials expand or contract abnormally, skewing all adjustments.
✅ Optimal conditions:
- Ideal temperature: 15–25°C for smooth installation
- Absolutely avoid: Rain, strong wind, full summer sun
- Necessary preparation: Store boards in shade for 48h before installation
- Optimal time: Morning or late afternoon (stable temperature)
- 7-day weather check: Verify forecasts before starting
Mistake #10: Neglecting material acclimation
❌ The trap: Installing immediately after delivery. Boards stacked for weeks carry internal stresses that release after installation.
✅ Proper acclimation:
- Minimum duration: 48h before first use
- Optimal storage: Flat
- Essential protection: In the shade, dry, ventilated
- Simple test: Boards should be at room temperature (15–25°C)
Anti-mistake checklist: your guarantee for success
🔍 Before starting installation:
- Stable support verified and 1% slope checked with a level
- Ventilation height ≥ 5 cm measured in multiple spots
- Joist spacing compliant with chosen installation angle
- Boards acclimated for at least 48h, stored in shade
- Favorable weather conditions verified (15–25°C)
- Cutting tools with rigid guides and fine blades
- Clips and fasteners in sufficient quantity (+10%)
- 5 mm spacers prepared for uniform gaps
Optimal schedule for a weekend:
|
Day -2 |
Board acclimation |