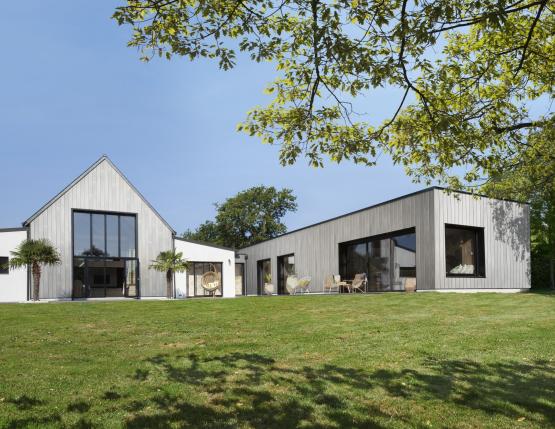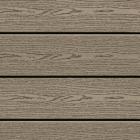


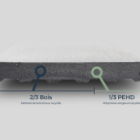


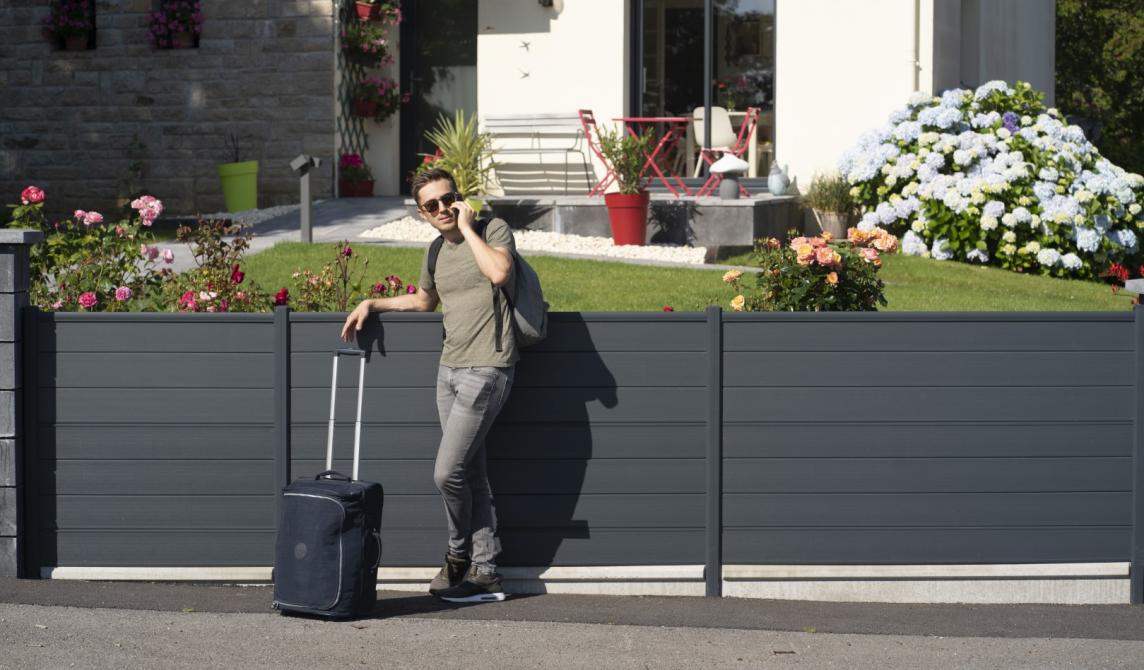
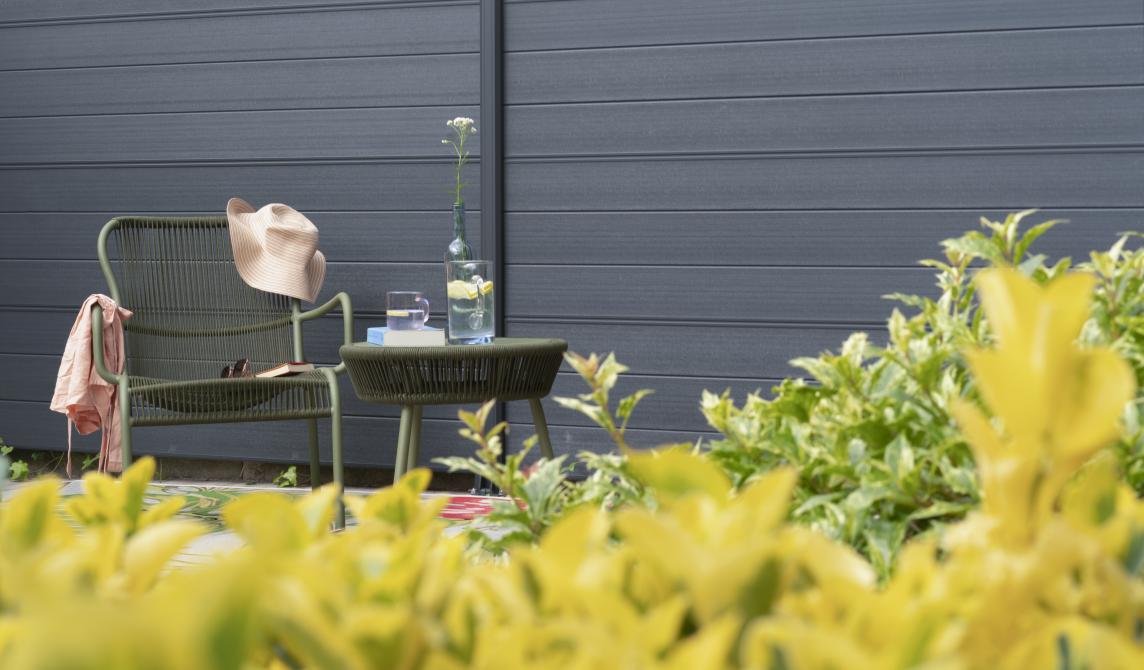
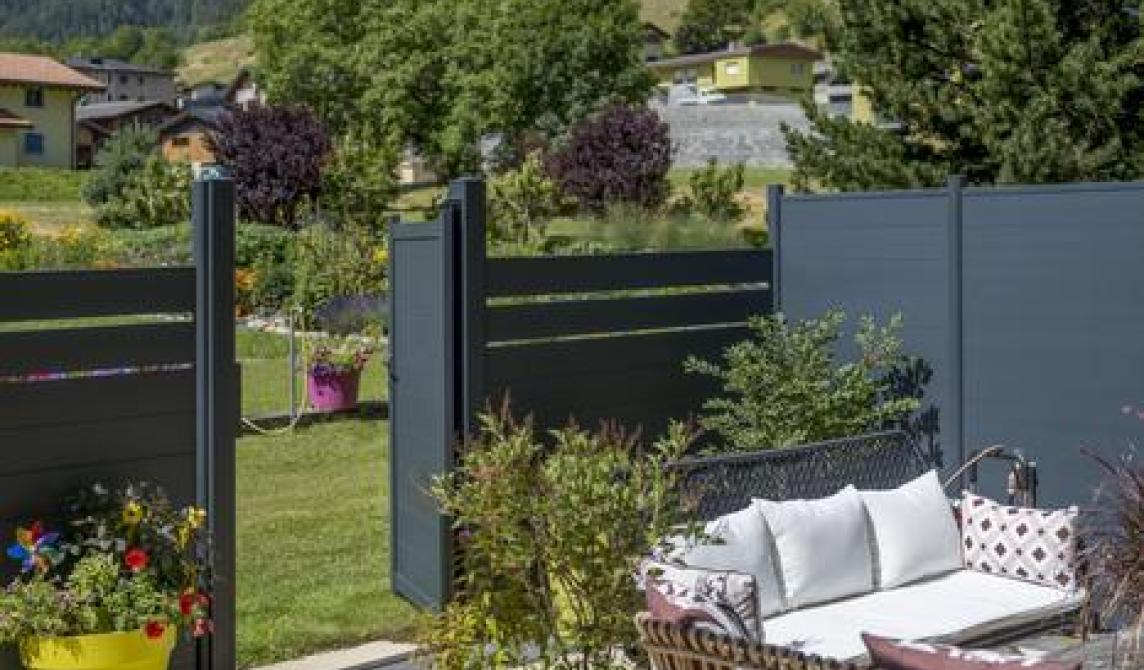
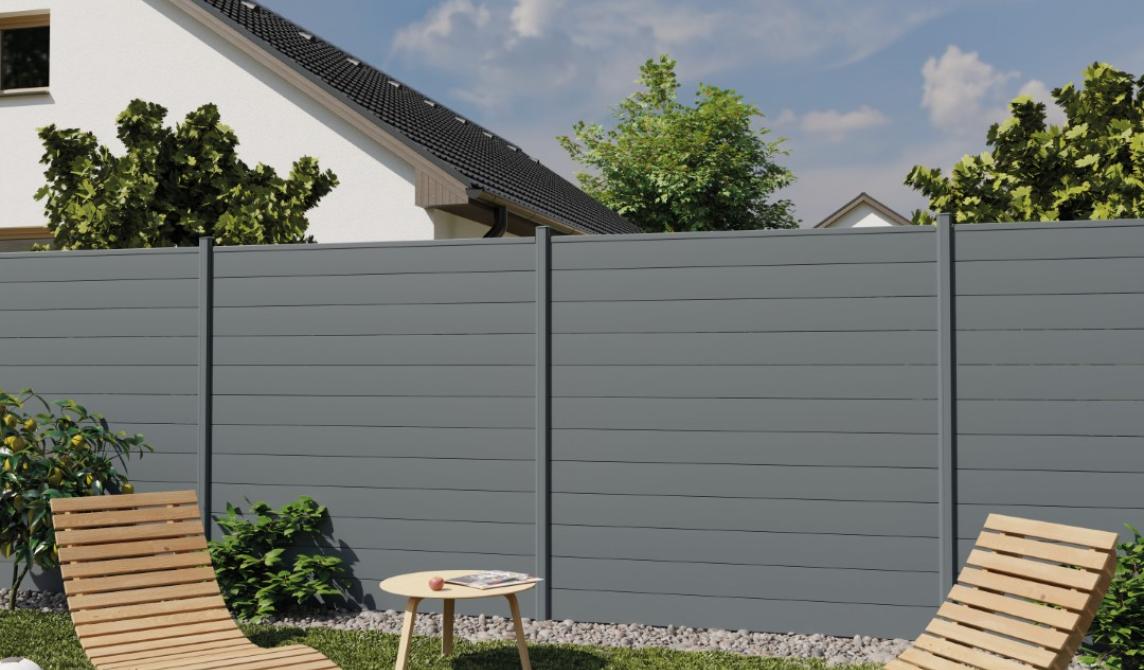
Atmosphere fencing board anthracite grey, SICLOT1404
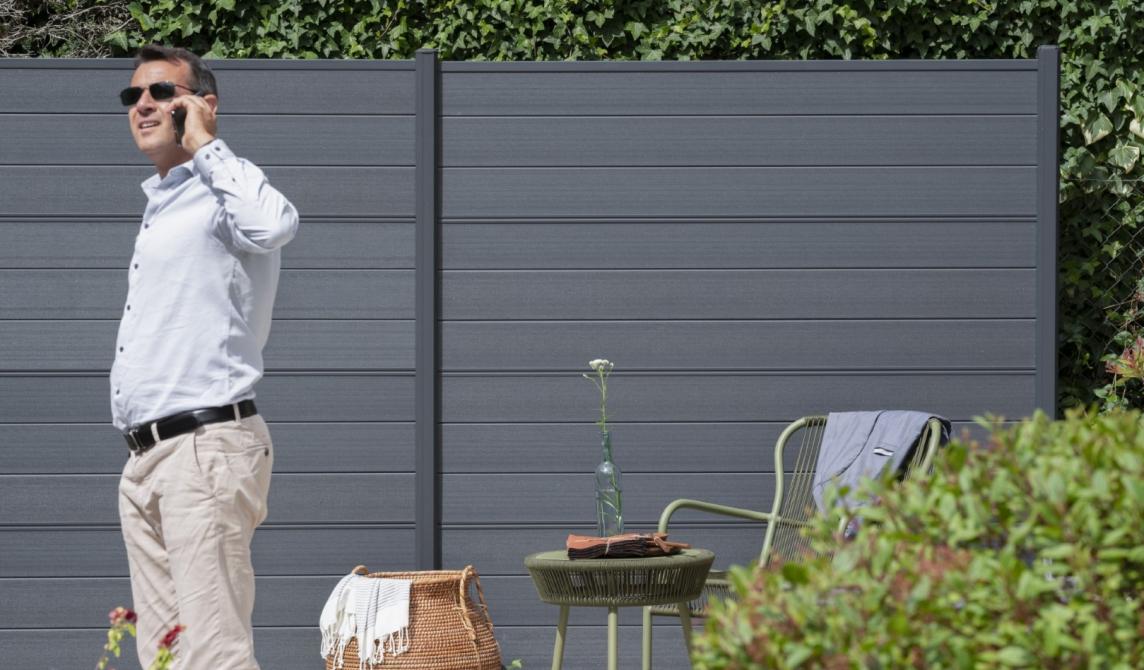
Atmosphere fencing board anthracite grey, SICLOT1404

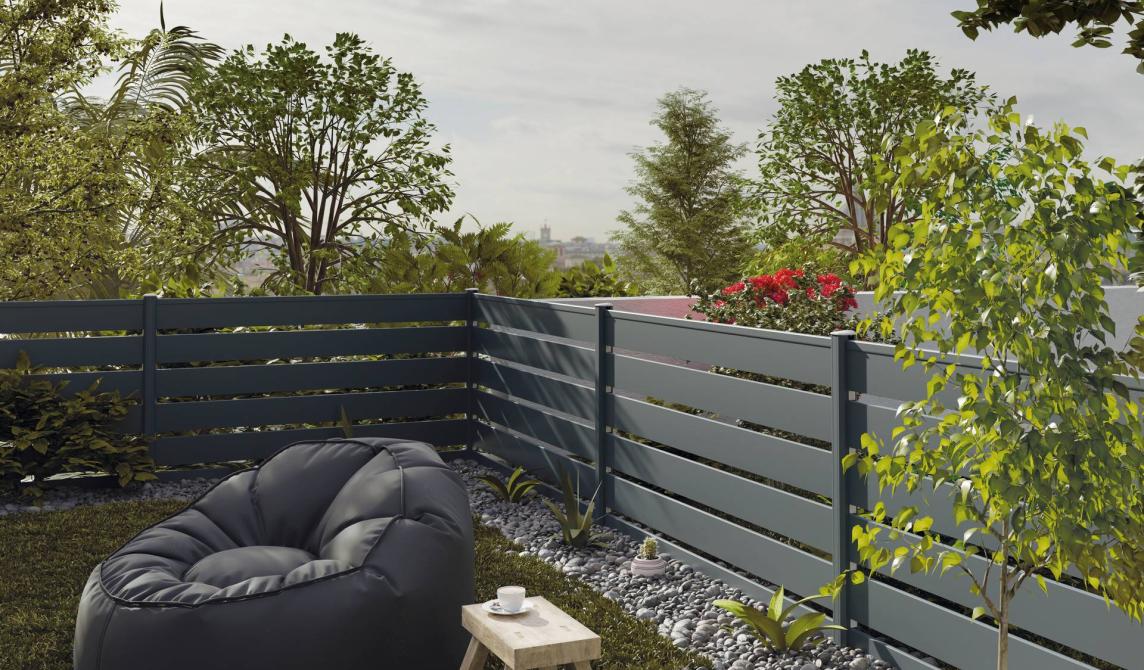
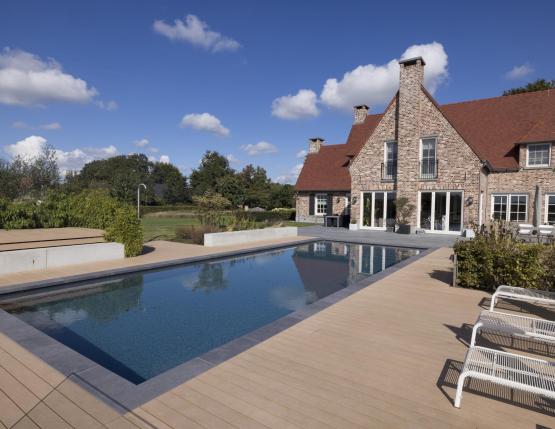
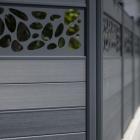
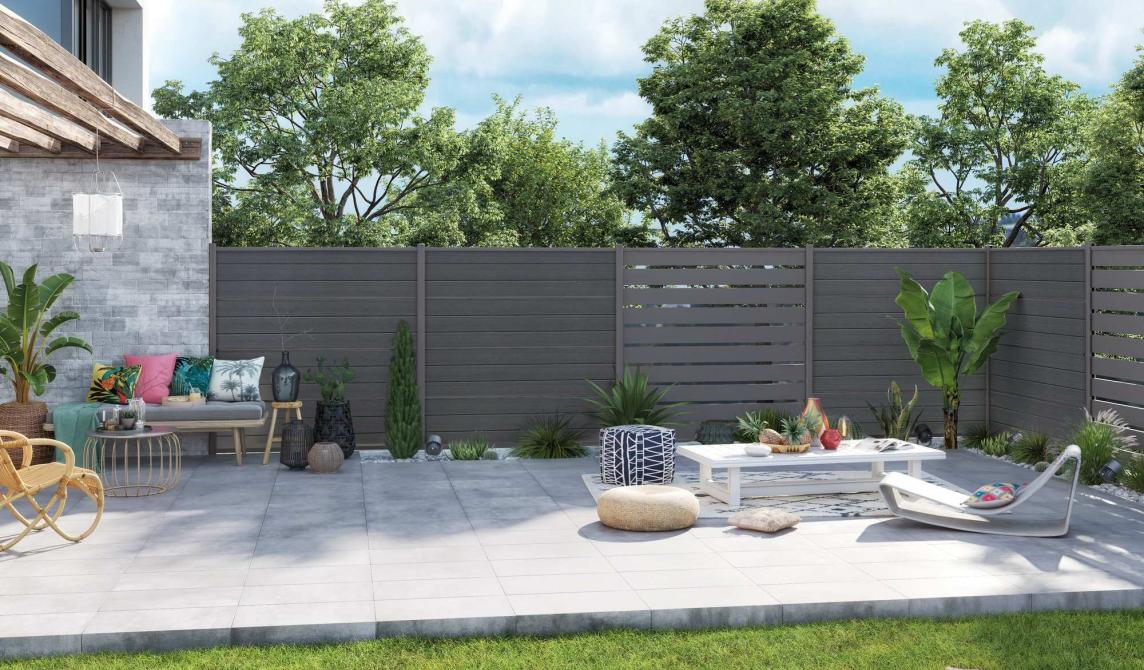
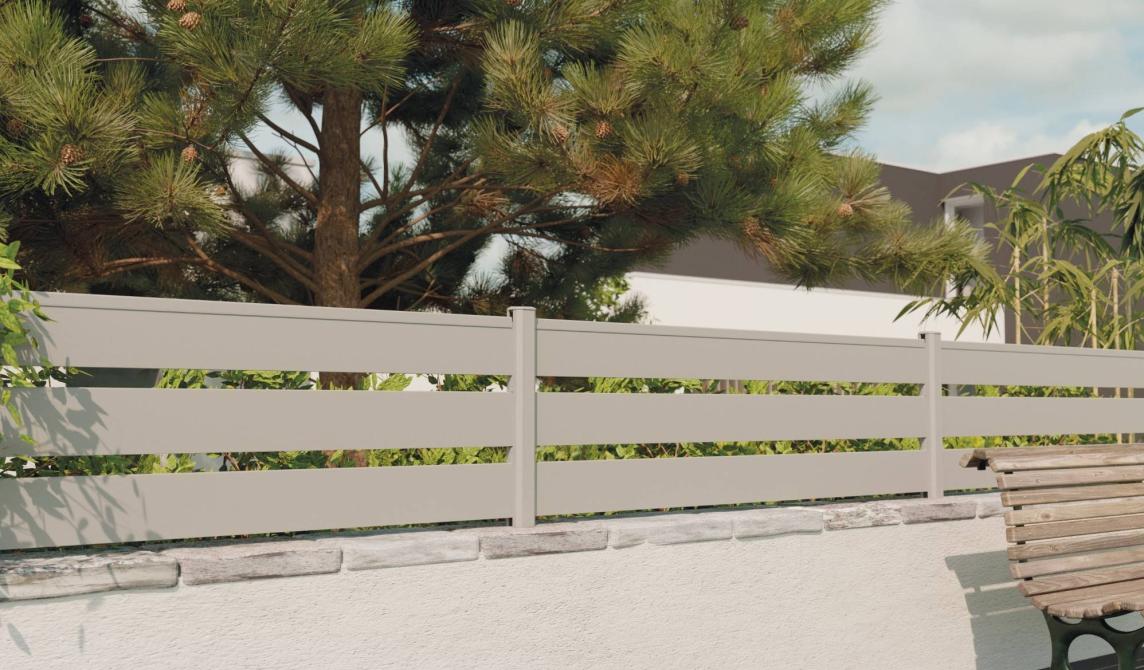
Aluminium fencing board anthracite grey SICLOTALU1801
Installing a composite fence represents a durable investment for your exterior. Its installation, while technical, remains accessible to experienced DIY enthusiasts with careful preparation and adherence to key steps. This detailed guide accompanies you step by step in completing your project, emphasizing essential points to guarantee a professional and lasting result.
Materials and Preparation
The success of composite fence installation largely depends on careful preparation and the use of the right tools. Appropriate equipment will allow you to work with precision and avoid common mistakes that could compromise the strength and durability of your installation. Before starting, make sure you have all the necessary materials and verify that each tool is in good working condition.
Required Tools
- Hammer drill and appropriate drill bits
- Spirit level and line cord
- Measuring tape and pencil
- Set of Allen keys
- Mallet and hammer
- Auger (for concrete anchoring)
Pro tip: Before starting, check local regulations regarding fence installation with your town hall.
The 10 Detailed Installation Steps
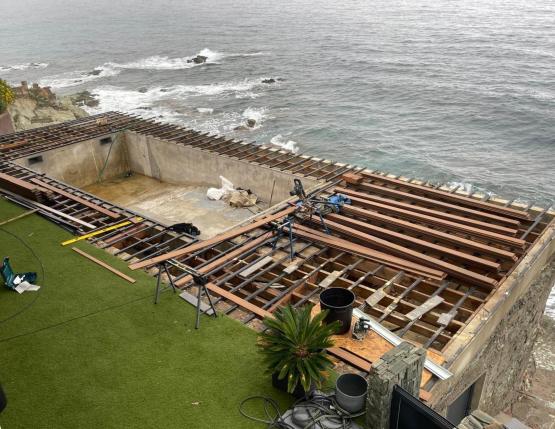
1. Site Preparation
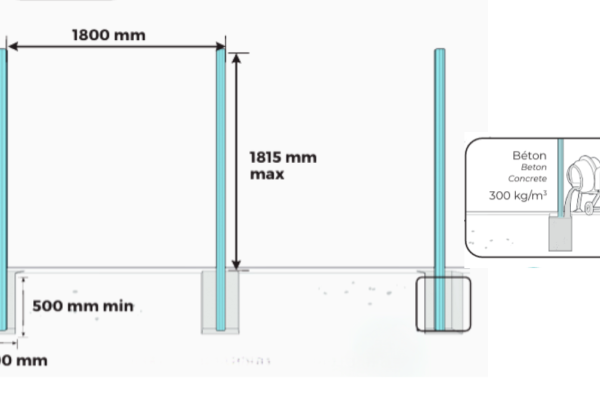
Start by precisely marking the location of your fence. Using the line cord, trace a perfectly straight line and check the ground levels. For installation on a base plate, ensure you have a uniform concrete slab of at least 20 cm width.
Important: Installing base plates on hollow support (concrete blocks) is absolutely prohibited.
2. Post Installation
Post installation literally constitutes the pillar of your fence project. This fundamental step will determine the alignment, stability, and durability of your entire installation. Posts must be perfectly vertical and solidly anchored to resist mechanical and climatic stresses. Depending on your configuration and soil type, you have a choice between two installation methods, each presenting its specific advantages:
Option A: Base Plate Installation
- Required center-to-center spacing between posts: 1800 mm
- Maximum height: 1845 mm
- Fastening with 4 anchor bolts per base plate

Option B: Concrete Anchoring
- Holes of 300 mm diameter by 500 mm depth
- Respect the 1800 mm center-to-center spacing
- Check verticality during drying
3. Starting the Fence: Bottom Rail or Base Plate
Starting your fence is a crucial step that not only determines the alignment of the entire structure but also its resistance over time. Two options are available to you depending on your configuration and needs: the traditional bottom rail or the base plate. Each solution has its specific advantages and should be chosen based on your terrain and installation constraints.
Option A: Installation with Bottom Rail
The bottom rail is the ideal solution for installation on a flat surface or with a base plate. It ensures excellent stability while protecting the first board from direct contact with the ground:
- Insertion into the base plate opening or positioning on the concrete base
- Careful level checking to guarantee horizontality
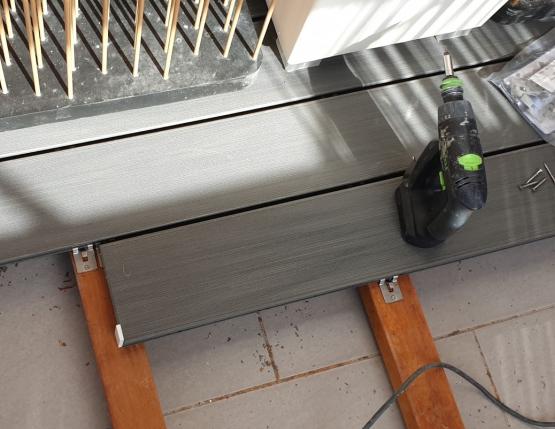
- Possibility to attach the first board to the bottom rail with stainless steel screws Ø4 x 30 mm (pre-drilling required)
- Compatible with base plate installation and concrete anchoring
Option B: Installation with Base Plate
The aluminum base plate is particularly recommended for terrain with slopes or requiring partial burial of the fence:
- Ideal solution for sloping terrain
- Possibility of partial burial while protecting the boards
- Installation after concrete anchoring has solidified
- Possible stacking of multiple plates if necessary
- Adaptable to any height of the screen fence
Important: With a concrete base plate, the use of a bottom rail between the plate and the first composite board is imperative to guarantee proper structural support.
Warning: It is strictly prohibited to bury a composite board directly in the ground. Always use a base plate for buried sections.
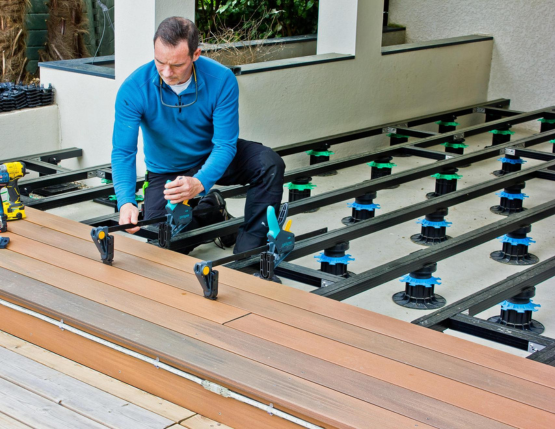
4. Board Assembly
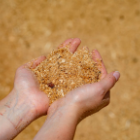
Board assembly represents the heart of your composite fence. This step requires particular attention as it conditions not only the final aesthetic appearance but also the longevity of your installation. Composite wood is a material that lives and expands with temperature variations. It is therefore crucial to respect certain fundamental rules during assembly to allow these natural movements while guaranteeing a solid and durable structure. Here are the essential points to respect when stacking the boards:
- Respect the 7 mm expansion gap on each side
- Maximum 3 boards without intermediate rail
- No gluing or screwing between boards
5. Installation of Intermediate Rails
Intermediate rails are essential for stability:
- Mandatory installation every 3 boards maximum
- Check for level/horizontality
- Positioning according to planned layout
6. Installation of the Top Rail
Final assembly step:
- Use of specific connectors
- Respect minimum 15 mm expansion gap under the cap
- Check final horizontality
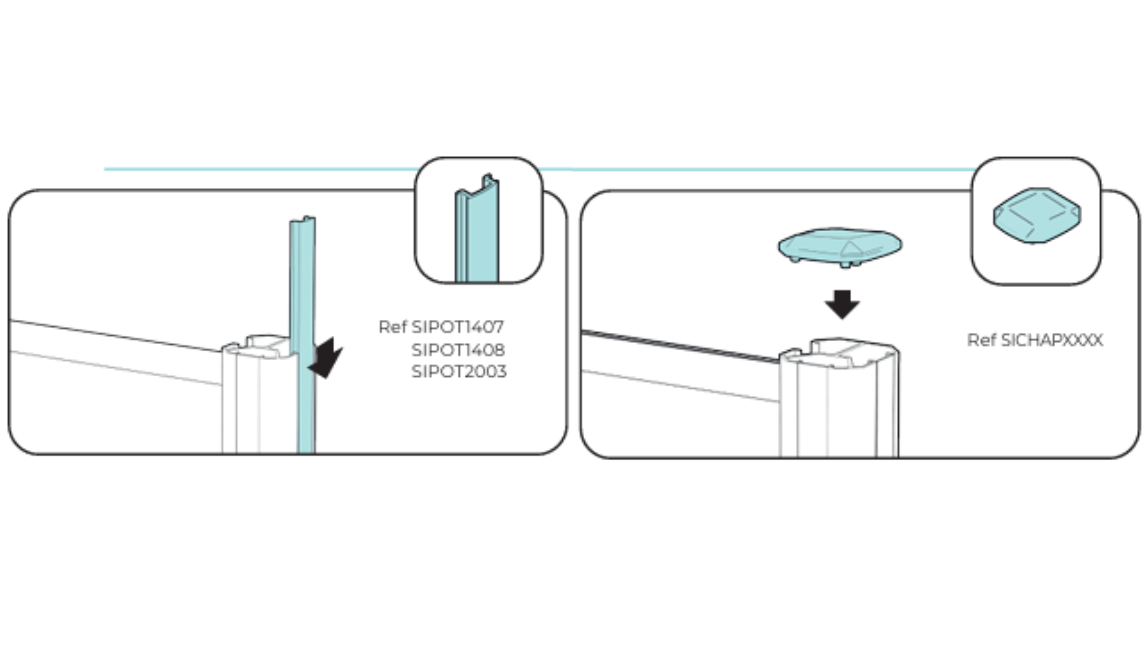
7. Installation of Finishing Elements
For a professional finish:
- Installation of finishing caps
- Installation of finishing strips if necessary
- Check alignments
Installation Manual | Installing your Silvadec fence: key points to remember
To ensure the longevity of your Silvadec fence, strictly follow the instructions in our installation manuals. Installation that complies with the manufacturer's recommendations is essential to benefit from your warranty in case of damage, particularly during severe weather. Any deviation could weaken your installation and invalidate your coverage. Consult our manuals available online and provided with each product.
Download the Key Installation Steps
Care and Maintenance
Although composite fences are designed to be particularly resistant and durable, regular maintenance helps preserve their aesthetic appearance and performance over time. Maintenance of a composite fence is relatively simple but must be performed regularly to prevent the accumulation of dirt and the appearance of persistent stains. Here are the main recommendations to keep your fence in perfect condition:
- Bi-annual cleaning with water using a brush
- Work in the longitudinal direction of the boards
- No aggressive products on aluminum parts
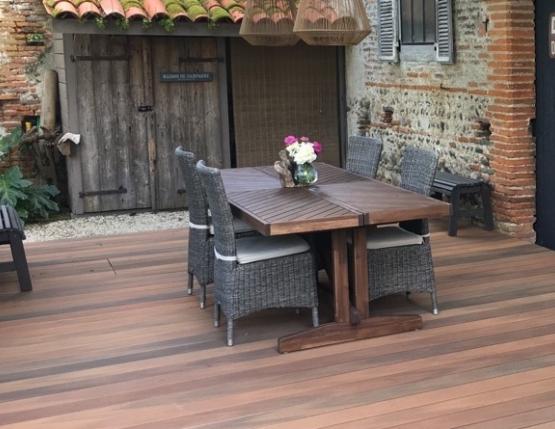
Conclusion
Installing a composite fence requires rigor and precision. Respecting the steps and expansion gaps is essential to guarantee the durability of the installation. Don't hesitate to call on a professional for complex configurations.
Note: Your composite fence is guaranteed to resist winds up to 100 km/h under normal installation conditions. The warranty covers boards against termite and fungal attacks for 25 years in residential use.
Atmosphere fencing board anthracite grey, SICLOT1404
Aluminium fencing board anthracite grey SICLOTALU1801
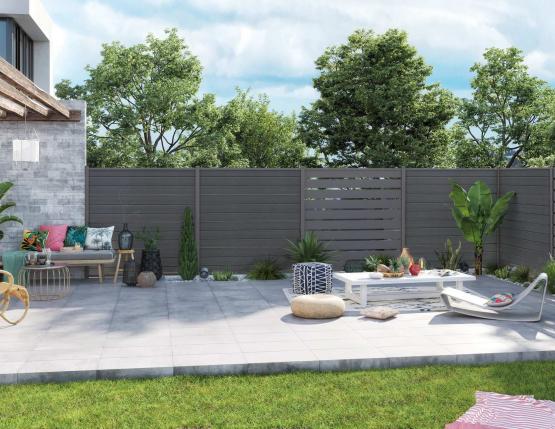
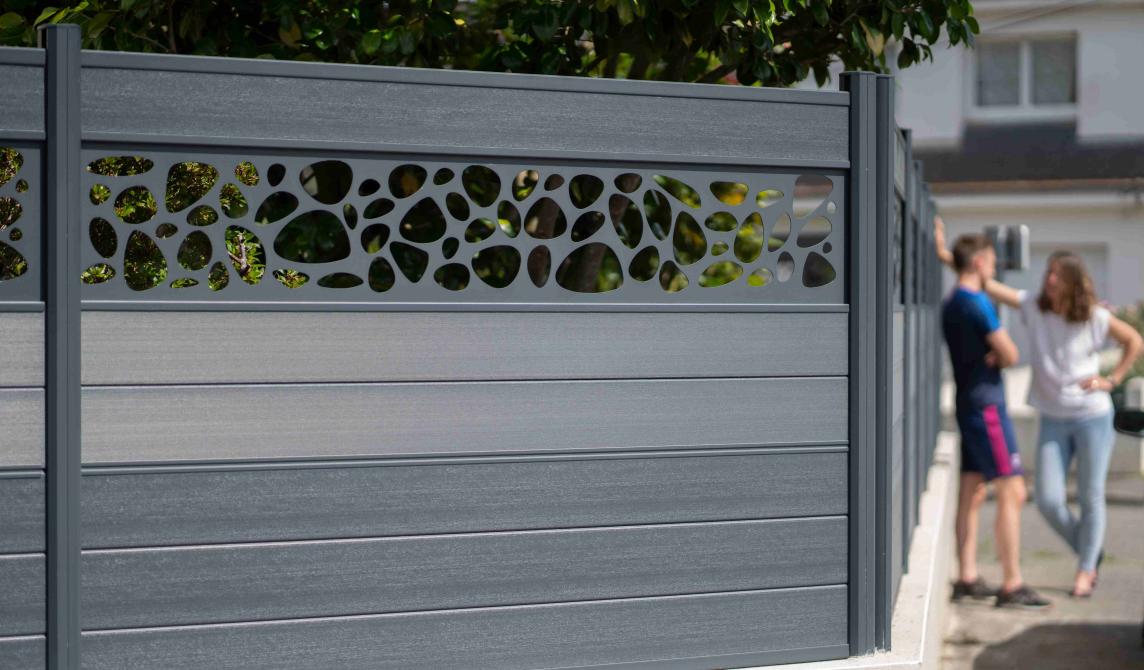
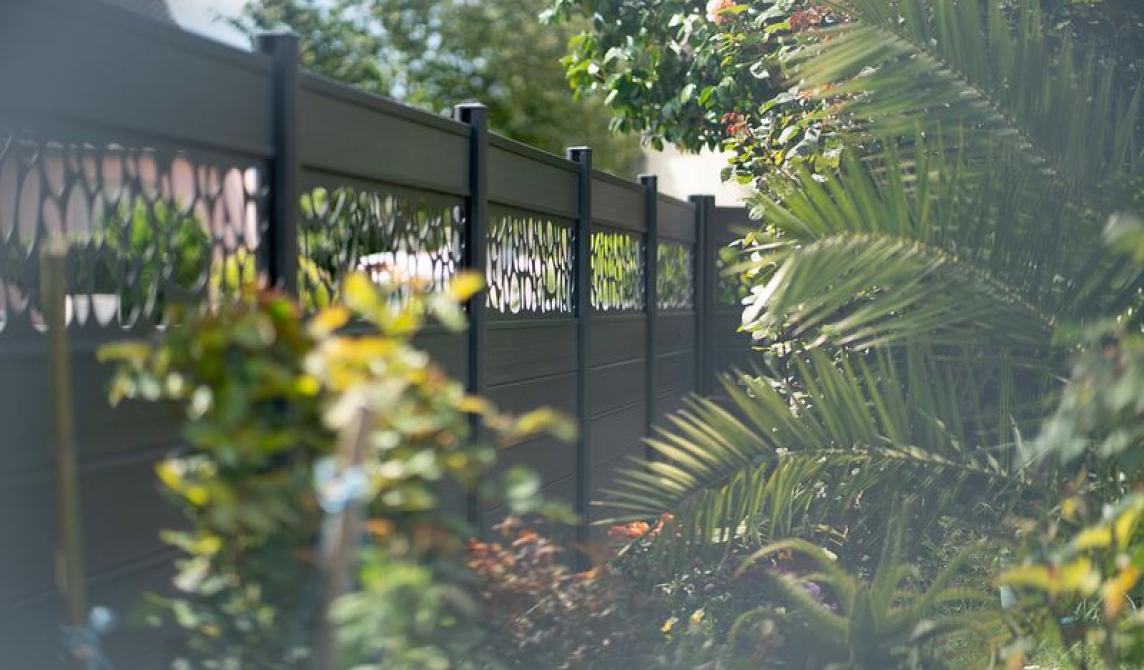
Atmosphere fencing boards (Composite) SICLOT1401 and Aluminium fencing boards (openworked) SICLOT1801 | Anthracite grey
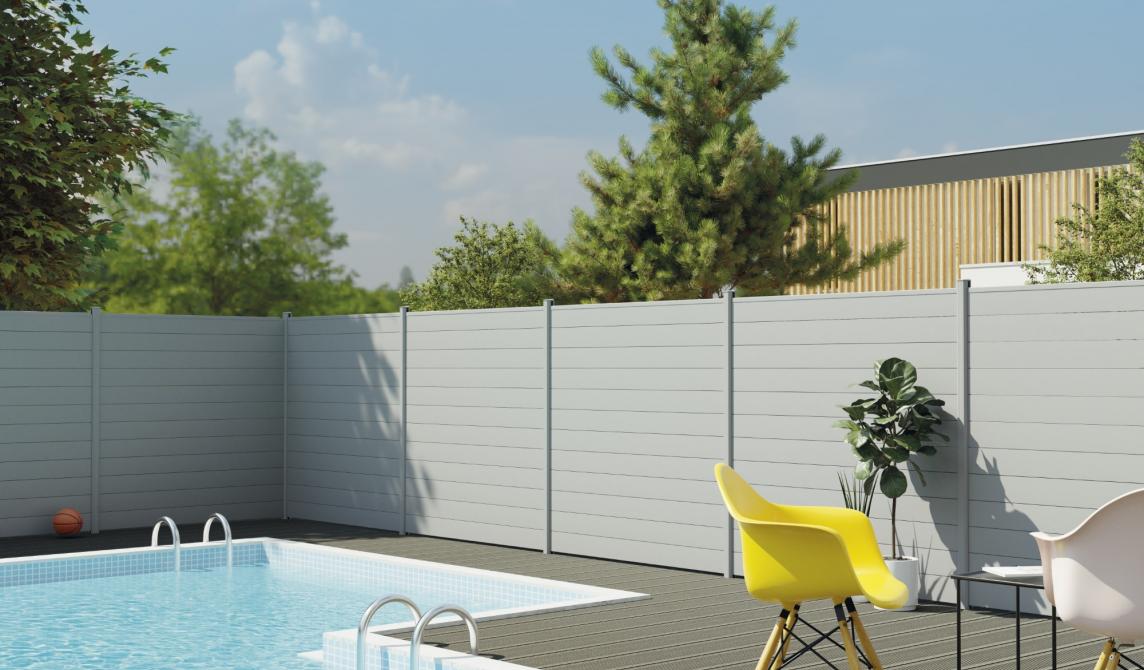
Aluminium fencing board metal grey SICLOTALU2001
Aluminium fencing board metal grey SICLOTALU2001