


A composite wood deck is an excellent choice to combine durability and aesthetics in your garden. This guide will walk you through your project step by step, explaining each phase clearly and precisely.
While installing a composite deck is within reach for DIY enthusiasts, it requires precision and adherence to specific rules. Here are the essential steps to successfully complete your installation.
Preparation
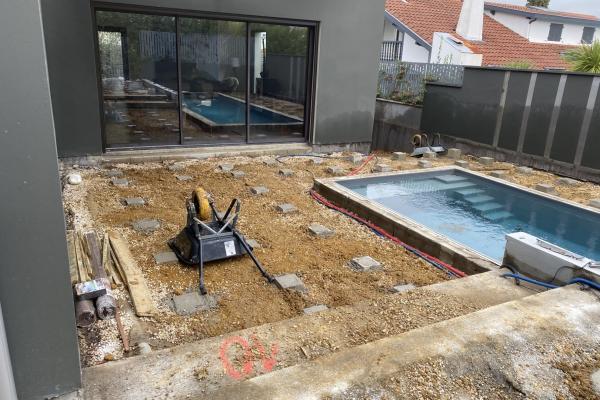
Groundwork: The Foundation of a Successful Deck
Just like a house, your deck needs a solid foundation. Poorly prepared ground can lead to sinking and deformation. This first step is therefore crucial to ensure the longevity of your installation.
Ground Preparation
- Level the entire surface
- Create a 5% slope
- Stabilize the ground by compacting
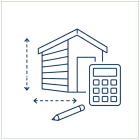
Required Tools
The quality of your installation will largely depend on your tools. Make sure you have all the essential equipment before getting started.
For cutting:
- Circular saw or jigsaw
- Miter saw for angled cuts
For fastening and assembly:
- Screwdriver drill with adjustable torque
- Hammer drill (for concrete surfaces)
- Spirit level
- Tape measure and chalk line
Choosing Between a Concrete Slab or Adjustable Pedestals
Two types of substructures are possible for your composite deck, each with its own technical characteristics:
Installation on Concrete Slab
- Requires a perfectly flat surface
- Smoothing compound is required if there are irregularities
- For non-draining surfaces: minimum slope of 10 mm per linear meter
- Compatible with all types of joists (composite, aluminum, wood)
- Ideal solution for large areas
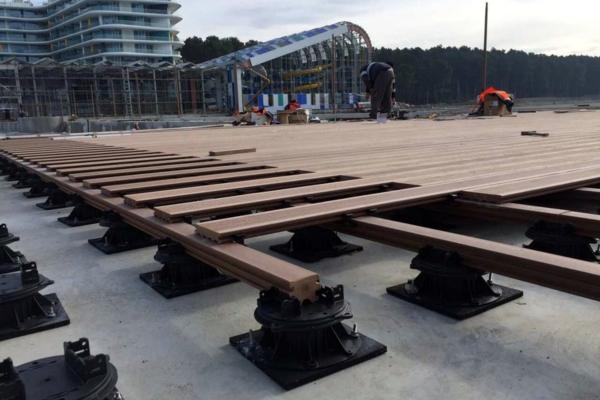
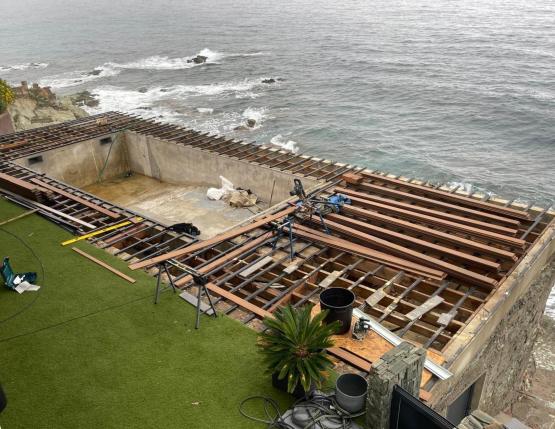
Installation on Adjustable Pedestals
- For stabilized ground: use polymer pedestals with geotextile
- For non-stabilized draining ground: use concrete support pads
- Adjustable system to compensate for ground irregularities
- Perfect solution for sloped or uneven terrain
- Easy-to-install and adaptable to various configurations
Common to Both Solutions
- Minimum clearance under boards: 50 mm
- Proper ventilation of the structure is essential
- Compliance with water drainage rules
- Importance of stable support
- Thorough ground preparation is required
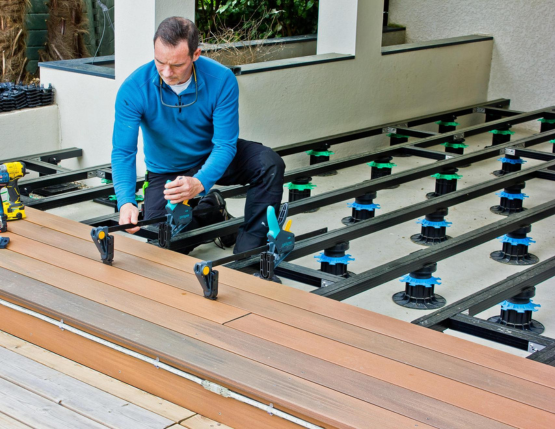
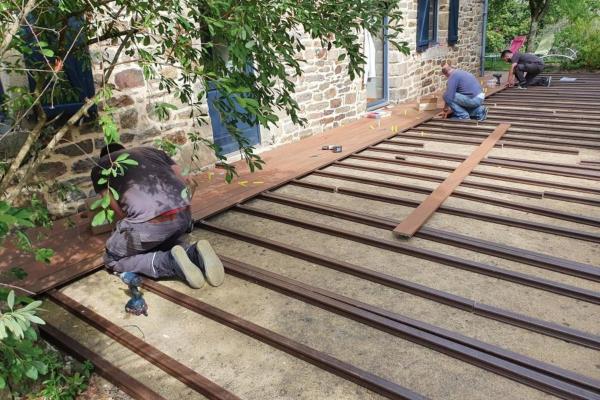
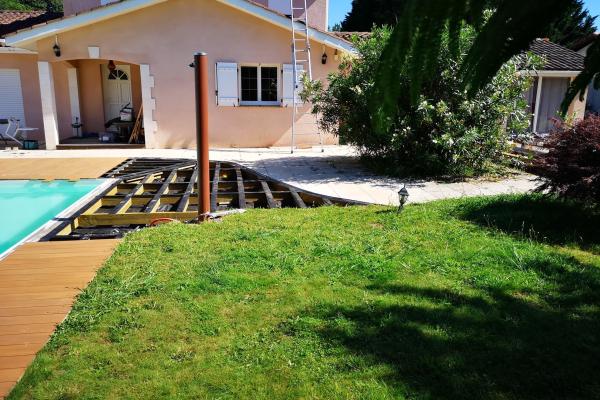
The Structure: The Skeleton of Your Deck
The structure is invisible once the deck is completed, but it is essential to its durability. Paying close attention to spacing and dimensions will ensure overall stability.
Key Installation Principles
The success of your deck depends on following proper installation guidelines. For detailed, compliant instructions, refer to the Silvadec® assembly manuals. Here are the key points:
Structure and Ventilation
KEY POINT: Joist Spacing
- Joist spacing depending on board orientation:
- Maximum 40 cm at 90°
- Maximum 20 cm at 45°
- Maximum 10 cm at 30°
- Minimum clearance under the boards: 50 mm to allow proper ventilation
Fixing Systems and Joists
-
Image
Silvadec® offers several fastening solutions adapted to different configurations. Refer to the technical manuals to choose the best option for your project.
Available Fastening Solutions
- Stainless Steel Clips – The most aesthetic solution for a clean, seamless finish
- Standard clip for typical board-to-board fastening
- Special joining clip for board ends
- Starter and end clips to secure edges
- Additional Options
- Invisiclip to fully conceal standard clips between boards
- Alternative solution with visible screws (pre-drilling required) for special cases
-
These fastening systems ensure not only the aesthetic finish of your deck but also its long-term stability and durability.
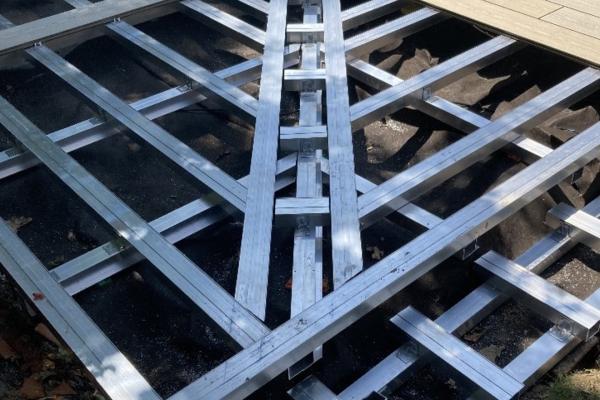
Types of Joists
- Class 4 Pine Joist
- For use with natural wood decking
- Requires regular maintenance for durability
- Aluminum Joist:
- Ideal for installation on pedestals and waterproof areas
- Use only with standard clips (not compatible with joining clips)
- Composite Joist:
- For use on flat, even ground only
- Requires continuous support under the entire length
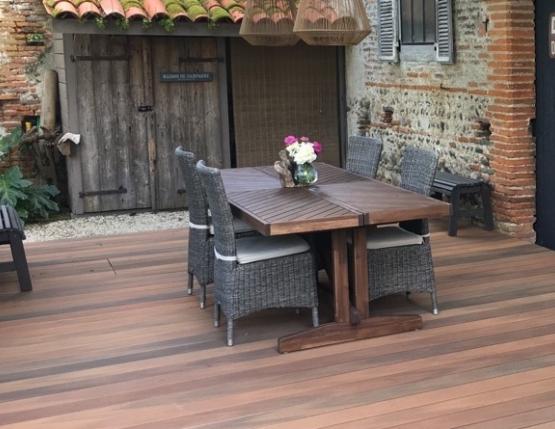
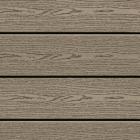
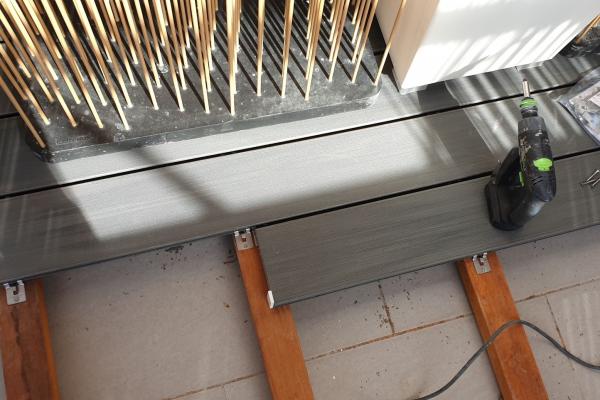
Installing the Deck Boards
The visible surface of Silvadec® deck boards is brushed to replicate the natural appearance of wood and reduce slipperiness. To ensure a successful installation, follow these essential guidelines:
- Board orientation: Install all boards in the same brushing direction to avoid color shade differences (except for Nuances Ipé boards, where alternating directions may be visually appealing).
- Mandatory spacing:
- 5 mm between boards (widthwise)
- 5 mm between board ends for joints
- Minimum 15 mm between boards or joists and a wall
- Support points:
- Short boards (less than 80 cm) must rest on at least three support points with fasteners
- Overhang must never exceed 25 mm
- The ends of every board must be fixed onto a joist
- Board end joints:
- Use either double joisting, Silvadec® aluminum joists, or joists wider than 70 mm
- For composite joists, you can use the joining clip by flipping the joist smooth side up
- Avoid aligning board end joints for both aesthetic and technical reasons
- Fastening systems: Three available options:
- Stainless steel clips for hidden fastening
- Removable clips for technical access
- Visible screws with mandatory pre-drilling (never screw closer than 25 mm from the board’s edge)
Finishing Elements
To ensure a professional result when installing your composite wood deck, follow these technical recommendations:
-
Careful preparation and installation
- Precise trimming of board ends using a circular saw
- Systematic checking of board spacing
- Meticulous installation of finishing elements with mandatory pre-drilling
- Thorough cleaning of the surface after installation
-
Aesthetic and durable finishing solutions
- Finishing skirts elegantly concealing the joists
- Aluminum corner trim (2 m) for clean and durable edges
- Perfect compatibility with the full product range
- Secure fastening using appropriate screws
These technical details ensure not only the visual appeal of your outdoor setup but also its durability and weather resistance.
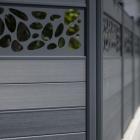
Technical Accessories:
- Anti-slip insert for enhanced safety
- Installed between boards using specific clips
- Not recommended in barefoot areas (abrasive surface)
- Installation requires appropriate tools
Warranty
Installation must be performed according to the assembly instructions to benefit from the Silvadec® warranty:
- 25 years for residential use
- 10 years for public or commercial use
For technical details, please refer to the official assembly instructions.
...
Need help?
Important
This guide is provided for informational purposes only. For an installation that complies with the manufacturer's recommendations and to ensure the validity of your warranty, it is imperative to refer to the official Silvadec® installation instructions:
- PU7 - Composite Decking Boards Installation Instructions
- PU26 - Decking Accessories Installation Guidelines
These instructions are also available from your distributor.